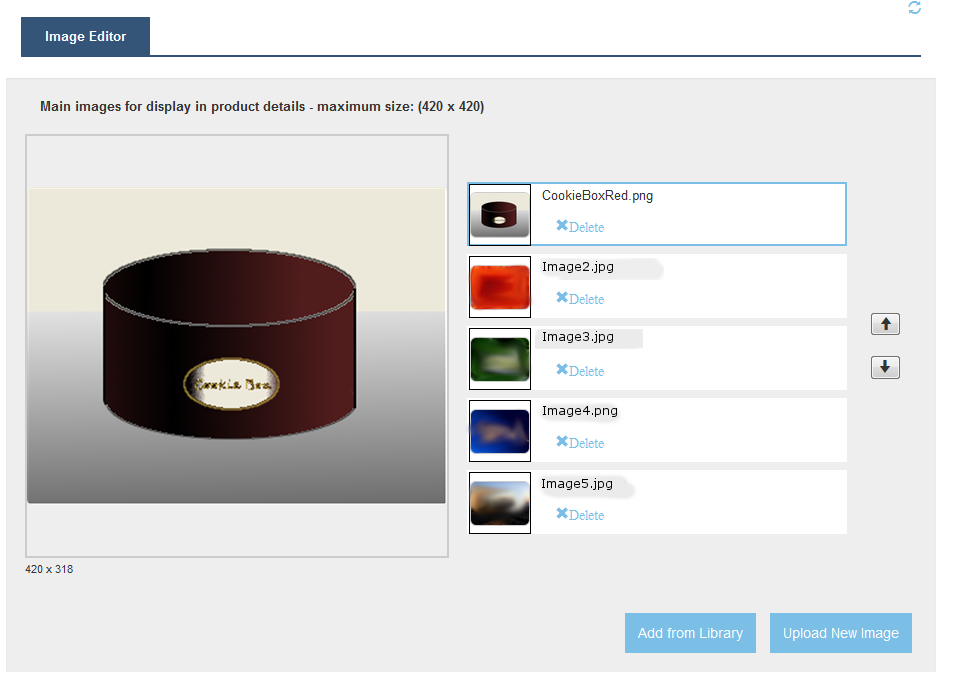
To view the images that have been added to the product datasheet, go to the Images tab. Here you can see the images you have uploaded and attached to the product.
Note that there are four different types of images. The main images are those images which the customer will see in an image carousel on the shop website. They should be of a good quality - as indicated by the resolution display - and present your product in an optimal way. To add a new image, click on Upload new or Add from library.
Upload new allows you to browse the files on your computer and upload a new image from there.
Add from library opens a dialogue which shows you any images you have previously uploaded. Search for the image name, or page through the images, then click on the image you wish to add, and click Add.
Use the small up and down arrows to the right to define the sort order in which the images appear in the image carousel. You need to click on the image you want to move first.
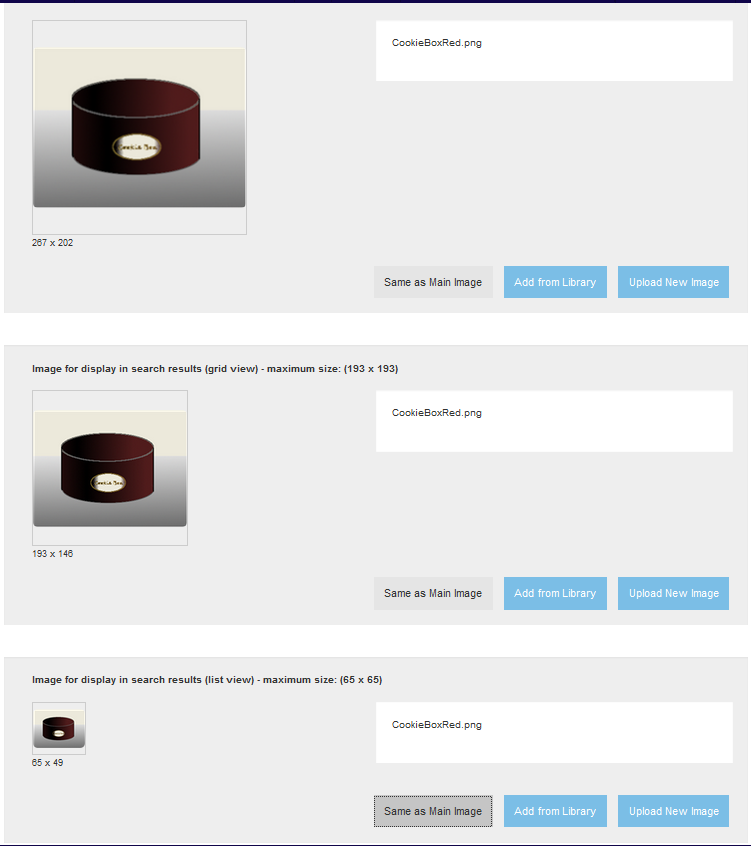
The small images are displayed in different positions in the shop, like product recommendations and product search results. By default, they will be the same as the first big image that you add. If you would like a different image to be displayed in the list of search results etc., you can replace it by clicking on Upload new or Add from library.
If you add more than one main image, or replace your main image, you can update the small images, by first selecting the main image you want to use, and the clicking on Same as main. The main image will then automatically be copied to the small image.
To remove an image from the main images carousel, click on "Remove". To change a small image, replace it with another image